This guide pertains to Ultra Course View.
If your course is in Original Course View, see the Original Course View tutorial collection.
Test Creation Overview
Create tests within the module or folder where the content that is being tested on is housed to create seamless access. To learn more about creating a test, see also:
Follow the instructions below or watch the videos below to learn more.
- Create a Test [Creating a test; adding test questions; using question pools; test settings, question presentation options, and assessment results & feedback]
Procedure
- On the Course Content page, select the purple plus sign within the module or folder where the content is located that is being tested on.
- Select Create, and under the Assessment section, select Test.

3. On the new test page, provide a title and begin building your test.
4. To add questions, select the purple plus sign, and select a question type. You can also add files or text, such as instructions for the test.

5. Once you've added a question to a test, you can choose if you want students to add additional content, like text, supporting files, or attachments. By default, this feature is turned on for your test. Toggle this feature off if you don't want students to add additional content.
6. Next, apply test settings. Select the Test Settings gear icon to open the panel where test details and information can be added.
7. You can provide a due date, randomize the questions, set your grading options, add a time limit, add a grading rubric, align with goals, and assign to groups.
8. When you are finished with your settings, select Save.
9. Set the availability of the test. Students won’t see a test until you choose to show it.
NOTE: By default, all tests have Allow Students to Add Content at the End of Assessment turned on. Should the test allow students to submit proof of their work for partial credit, this feature provides the means for student to upload an image of their notes for instructor review and partial credit consideration. If this is not relevant to an exam, it can be toggled off.

Assessment Setting Options Explained
Details & Information Section
Due Date: enter the Due Date and Time the assignment is due. Once entered, this information funnels into the Activity Stream on the Bb homepage and the Calendar tab both in the course shell and on the Bb homepage. Late submissions appear with a Late label in the course Gradebook.
Prohibit Late Submissions: This blocks a student from submitting the assignment after the identified due date/time has been completed -- even if an exception is granted. If an assignment is in progress, this attempt will be submitted by the system automatically for grading when the due date/time have been reached.
NOTE: If students have submitted attempts, you cannot change the due date to a date in the past. If the due date has passed, you can't select the Prohibit late submission setting.
Prohibit New Attempts After Due Date: This prevents a student from attempting the assignment after the identified due date/time has passed. This differs from Prohibit Late Submissions in that Late Submissions is submission of an item that is in progress. New Attempts would be attempting to start an assignment after the due date/time has been reached.
Allow Class Conversations: If you allow class conversations, students can discuss the test with you and their classmates while the test is available. Students can contribute to the conversation before, during, and after the test. As the conversation develops, it appears only with the relevant test.
Collect Submissions Offline: If work is to be collected or completed offline, check this box. An assignment created in which work is completed outside of Bb (e.g. a live performance, presentation given in class, completion of work in a tool not integrated into Bb, etc.) will still have a column created in the Gradebook for the assignment and allows for a rubric to be associated with it for grading purposes.

Presentation Options are most often associated with the manner in which questions are presented to students. NOTE: some of these features only become available after questions have been added to an assessment. By default, your test will present students with all the questions at once in the order you added them. You can choose from a range of presentation options that meet your needs.
Display One Question At A Time: This option controls how a student navigates the test and allows them to focus on a single question at a time and reduce cognitive load. Students can skip questions with this option enabled unless Prohibit backtracking is enabled.
Prohibit Backtracking: The Displaying one question at a time option enables you the option to prohibit a student from navigating back to earlier test questions. This option is also available for paged tests, in which case enabling this option prevents students from navigating back to earlier test pages.
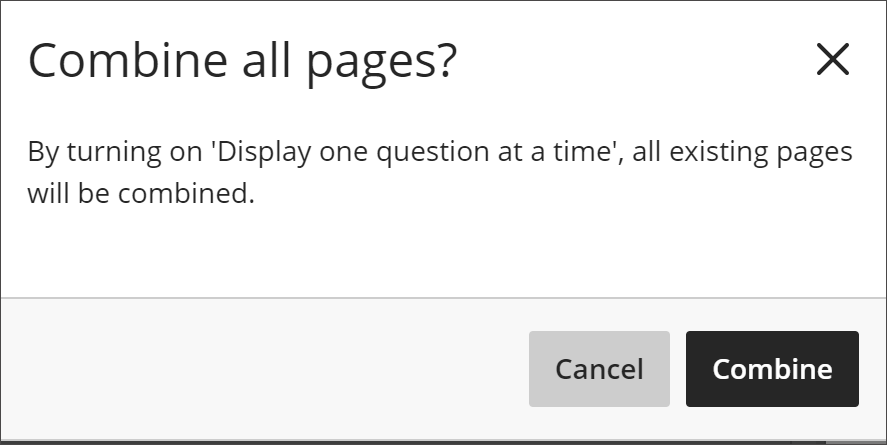
If you have multiple pages in your test, enabling Display One Question at a Time will combine these pages into one. A pop-up box will notify and confirm your choice:
Randomize Questions: Randomizes the order questions are presented to each student when selected.
Randomize Answers: Randomizes the sequence in which answers for Matching and Multiple Choice questions are displayed for each student.
Randomize pages. If your test includes questions across multiple pages (for example a page of Multiple Choice questions followed by a page with Essay questions), this option randomizes the order in which these pages are displayed.
Do not randomize first page. If your test is set to randomize pages, this option allows you to lock the first page in place. This is useful, for example, if the first page of the test includes instructions.

Formative assessment is an essential component of the teaching and learning process. Formative assessment provides ongoing feedback to both instructors and students. Its primary value is that it informs and shapes instruction, guides learning, and supports student progress. Instructors can apply a formative label to assessments and, when selected, this label serves as an indicator and appears to instructors in the following areas:
- Course Content page - on assessments set as formative
- Test and Assignment settings
- Gradebook -- Both List and Grid views
- Student Overview
- Student Activity Overview

Instructors may choose to display this label to students. This helps to inform students that an assessment is formative in its purpose. When displayed to students, the label appears in these areas:
- Course Content page - on assessments set as formative
- Assessment panel before starting an attempt
- Assessment Details & Information panel during and after an assessment
- Assessment header when viewing a submission
- Gradebook (Grid View)
In the Gradebook Grid View, instructors can filter assessments by formative or summative type by clicking the Gear icon to open the side panel, then checking the desired box on Assessment Type. Formative assessments are those with the formative setting selected. Summative assessments are those that do not have the formative setting selected.

This section allows for preferences to be stipulated regarding the submission of work and related grading of this work.
Grade Category: The default category is Assignment, however, additional choices are available in the drop-down menu or as additional categories are added to the Gradebook.
Attempts Allowed: Identify the number of attempts on the assessment students are allowed. When more than one attempt is allowed, an additional menu option of "Grade Attempts" appears to convey to Blackboard how to record the score in the grade book with these choices:
- Average of all attempts
- First attempt with a grade
- Attempt with highest grade
- Last attempt with a grade
- Attempt with lowest grade
See Multiple Attempts to learn more.
Grade Using: Choose from Letter, Points, or Percentage. NOTE: To provide students with a clear understanding of where they stand in the course based on a current level of work completed, faculty are strongly encouraged to keep the grading method consistent; therefore, be purposeful in using Letter, Points, or Percentage throughout the course. Students most often relate to Point values.
Maximum Points: Bb requires a point value always be provided for a graded activity in the course. Enter in the desired point value for the assignment.
Anonymous Grading: Check this box to hide student names when grading.
Evaluation Options:
- Check 2 Graders Per Student (known as Parallel Grading) to require two individuals separately grade the assignment (those individuals must hold a role in the course that allows them to grade). Based on roles assigned to each grader, one will serve as the Reconciler who will reconcile the grades between the two graders to determine the final grade awarded.
- Peer Review: This would be more suitable for an assignment versus an assessment.
Assessment Grade: Check this box to automatically have scores, whether automatically graded by Bb or manually graded by the instructor, displayed to students in the grade book once grading is completed. Leave the box UNchecked to manually control when grades are released for student viewing.
POST Scores Automatically: When checked, as student work is graded, the score awarded is posted in the Gradebook automatically for students to view. If left UNchecked, then the instructor can opt to release all scores out to all students once all grading is completed. See Posting Scores.

The options within this section only appear after questions have been added to an assessment. For more information on these options, see Assessment Results & Feedback.

Within the Additional Tools section, the following can be done:
- Time Limit: add a time limit to complete the activity.
- Use Grading Rubric: add a rubric to grade the activity with.
- Goals & Standards: add department-created goals to the activity.
- Assign Groups: if this is a group assignment, assign groups created in the course to the activity.
- Originality Report: if desired, enable SafeAssign for submitted work to be reviewed for matched content and potential plagiarism. This would be suitable for essay or short answer questions.
Assessment security
Assessment security provides tools to secure assignments you create.

Add an access code. You can issue an access code to control when students and groups take a test. Access codes are generated randomly by the system.
Submitted work can also be viewed from the assignment by clicking the arrow in the right corner:
