This guide pertains to Ultra Course View.
If your course is in Original Course View, see the Original Course View tutorial collection.
Adding Files or Text
Click on the title of the desired test to open. Select the purple plus sign to open the menu wherever you want to add questions, text, or a file. You can add as many text blocks and files as you want.
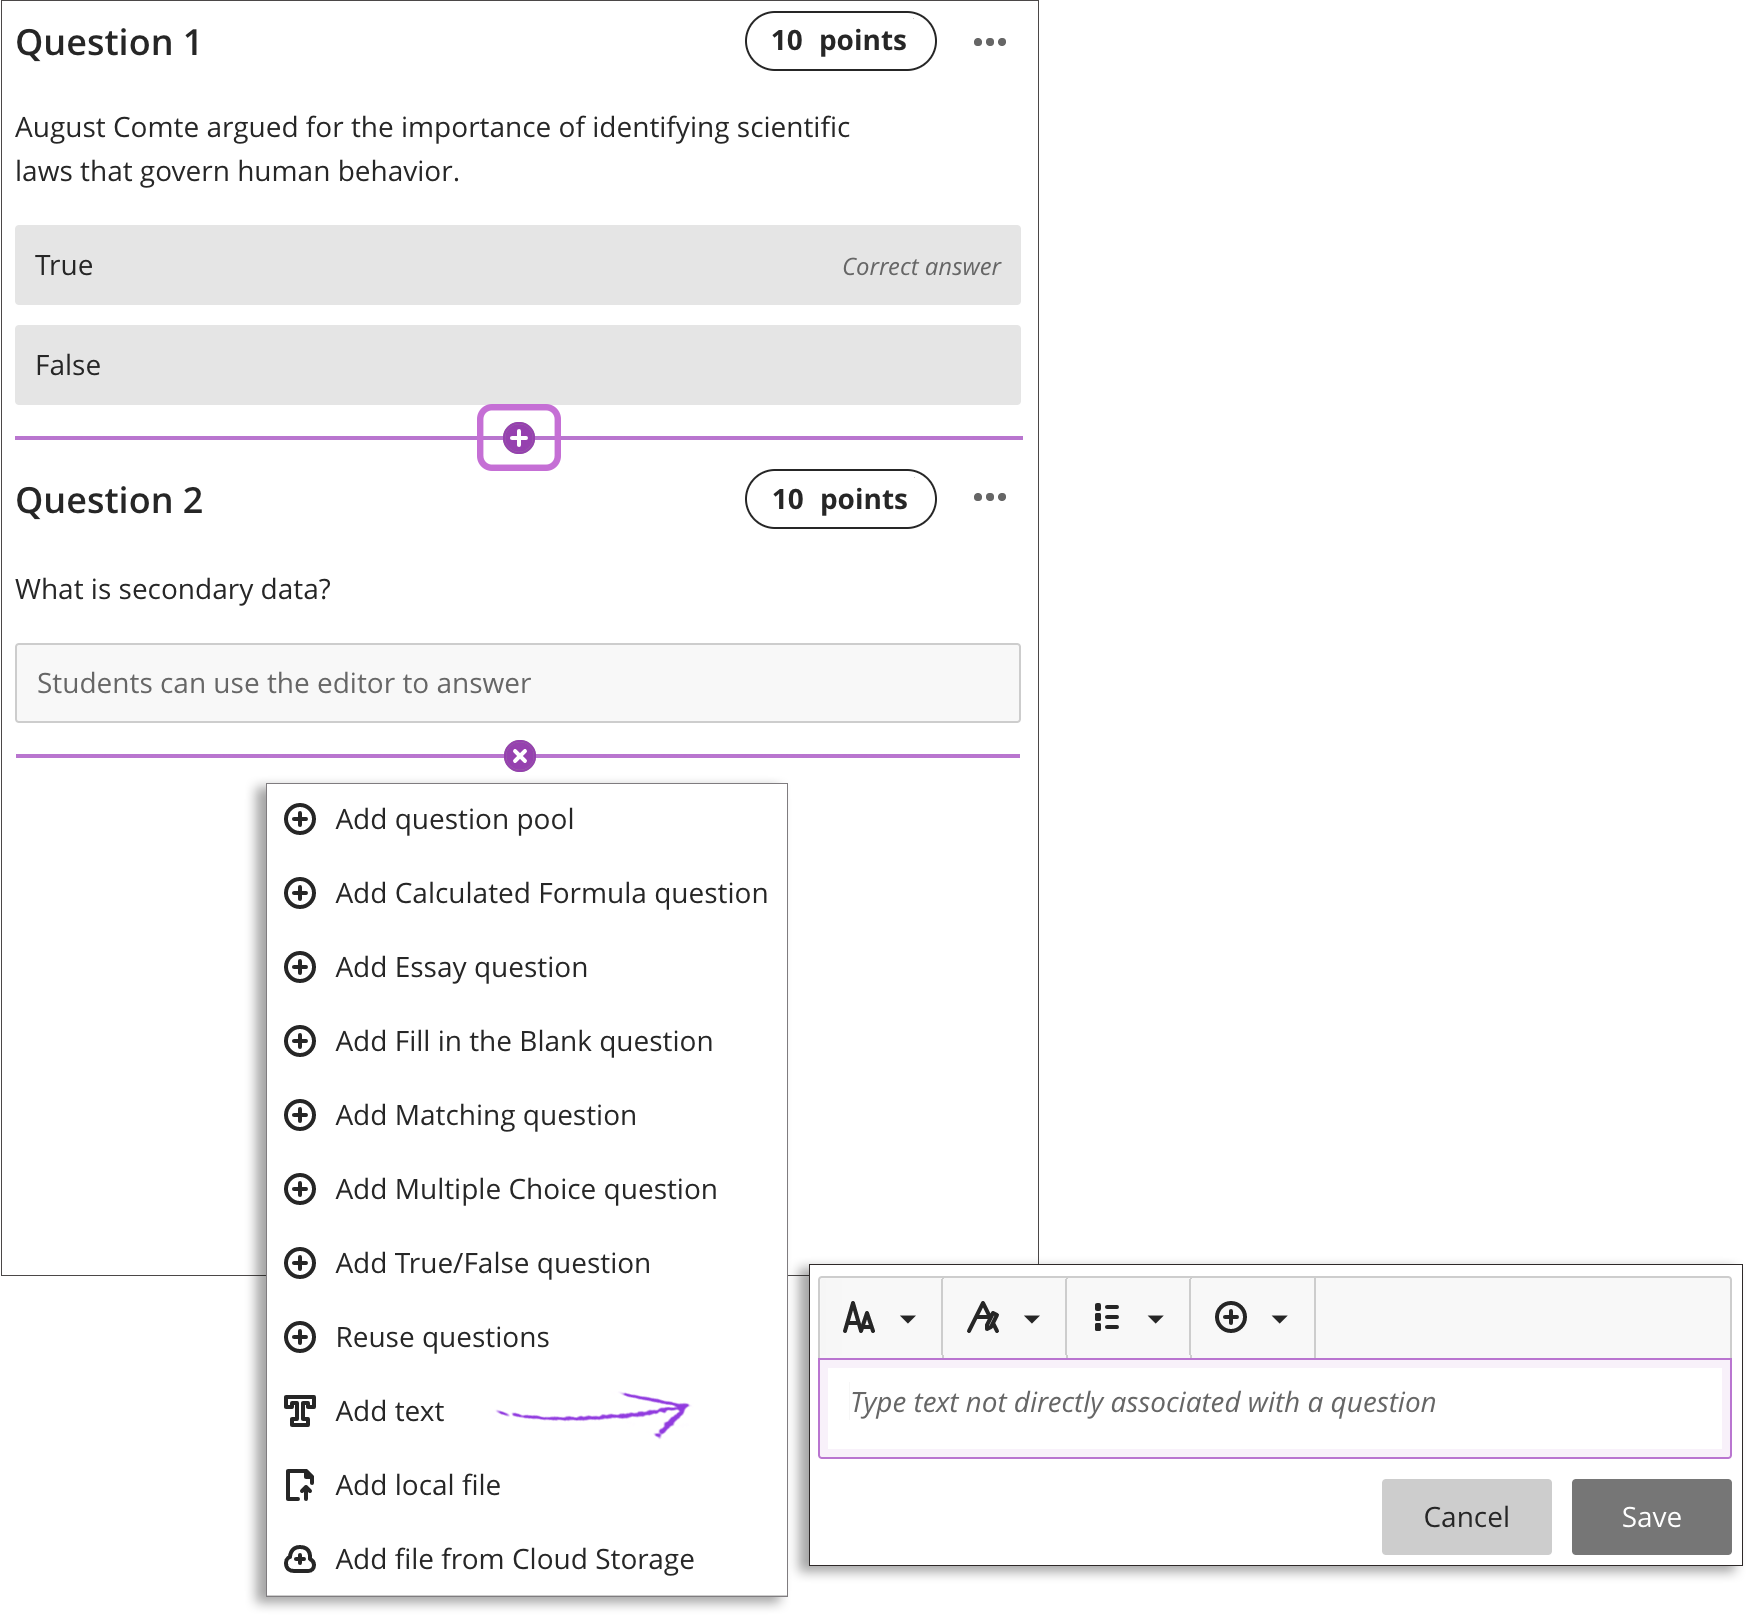
Text Blocks
Text blocks allow for the ability to add details and information about the test, directions for completing the assessment, instructions for a section of the test, or introductory text for an audio file or image. Select Add text to open the editor. You can also paste text in from a Word doc.
You can also use the editor to embed images and attach files along with your text.
If you create a test that only includes text blocks, you can manually change the Maximum Score in the Test Settings panel. For example, you may want students to upload submissions or use the free form text fields.
Select Add Local file to browse for files on your computer. Your institution controls the maximum size of a file that you can upload. You can't add a folder of files.
Adding Files
Files can be added to a test in one of two ways:
- Embedded within a question itself by clicking the paper clip icon.
- Embedded inline so it appears inline with other content added: purple plus > Add local file
Files can be added via Local File or from Cloud Storage (Google Drive, OneDrive, Dropbox). The files you add are copies and any changes made to the file in the course do not impact the original. If you make a change to a file in cloud storage, you need to upload a new copy in your course. If your browser allows, media files you add from cloud storage display inline.