Providing Feedback
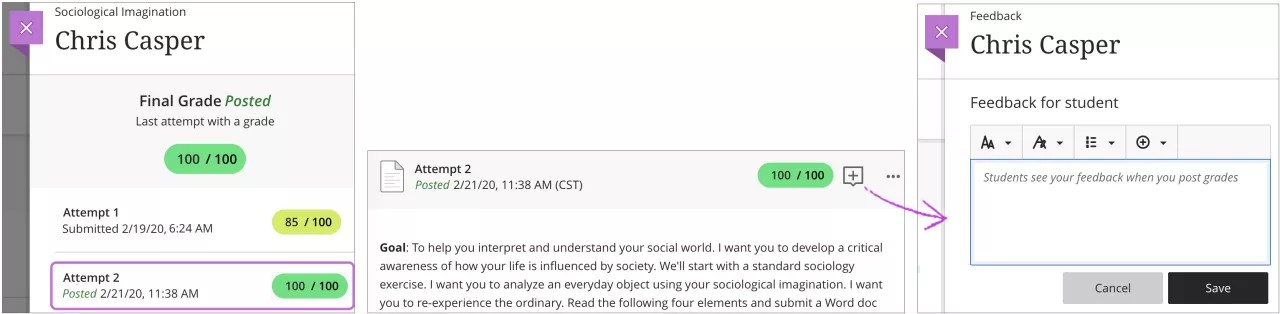
Open an attempt. On the Submission page, select the feedback icon to open the feedback panel. The panel remains in place as you scroll through the assignment and add overall feedback and a grade.
When you post grades, students can view them and any feedback you provided. All feedback for all attempts, even ungraded attempts, shows to students.
See Also:
What Do Students See?
Assessment feedback gives students insights into their strengths and weaknesses. It also helps them refine their skills and knowledge. Students can access the assignment submission review page from these locations:
- The Gradebook feedback button for the assignment.
- The small panel that displays when students access an assignment from the Course Content page.
If a student submits multiple attempts, they can review each on the submission review page. By default, the student sees the appropriate graded attempt. The instructor defines which attempt to grade in the assignment's final grade calculation setting.
The assignment submission review page displays the following information and feedback formats:
- Assessment content
- Student submission with inline feedback
- Submission timestamp
- Submission receipt
- Final grade and calculation model
- Attempt grade and feedback
- Override grade and feedback (if applicable)
- Optimized display of rubrics information and criterion feedback
Image 1. The feedback button lets students access the new assignment review page from their Gradebook

Image 2. Students can access the new assignment submission review page by selecting the "3 submitted" link and the "Your Grade" label on the assignment’s settings panel

Image 3: Student view of the assignment submission review page, displaying the inline feedback, attempt feedback, and rubric information

Image 4: Student view of the assignment submission review page; in this example, the instructor has overridden the final grade and provided override feedback; the inline feedback and rubric information are also visible

Instructors have enhanced ability to monitor student engagement with assessment feedback. An indicator on the Student Overview page displays whether a student has reviewed the feedback for a given assessment.
When a grade is posted, the indicator includes a label of Not Reviewed with the existing Completed label in the Status column. When the student reviews the feedback, the status updates to Reviewed with a review timestamp.
If the new grade indicator is reset for the assessment, such as when a grade is updated or if the assessment has multiple attempts, the timestamp updates when the student reviews the feedback again. If all attempts are deleted, the Not reviewed or Reviewed label is removed.
Image 1: Instructor Gradebook View has Reviewed and Not Reviewed labels in the Status Column.
