This guide pertains to Ultra Course View.
If your course is in Original Course View, see the Original Course View tutorial collection.
Create a Fill in the Blank Question
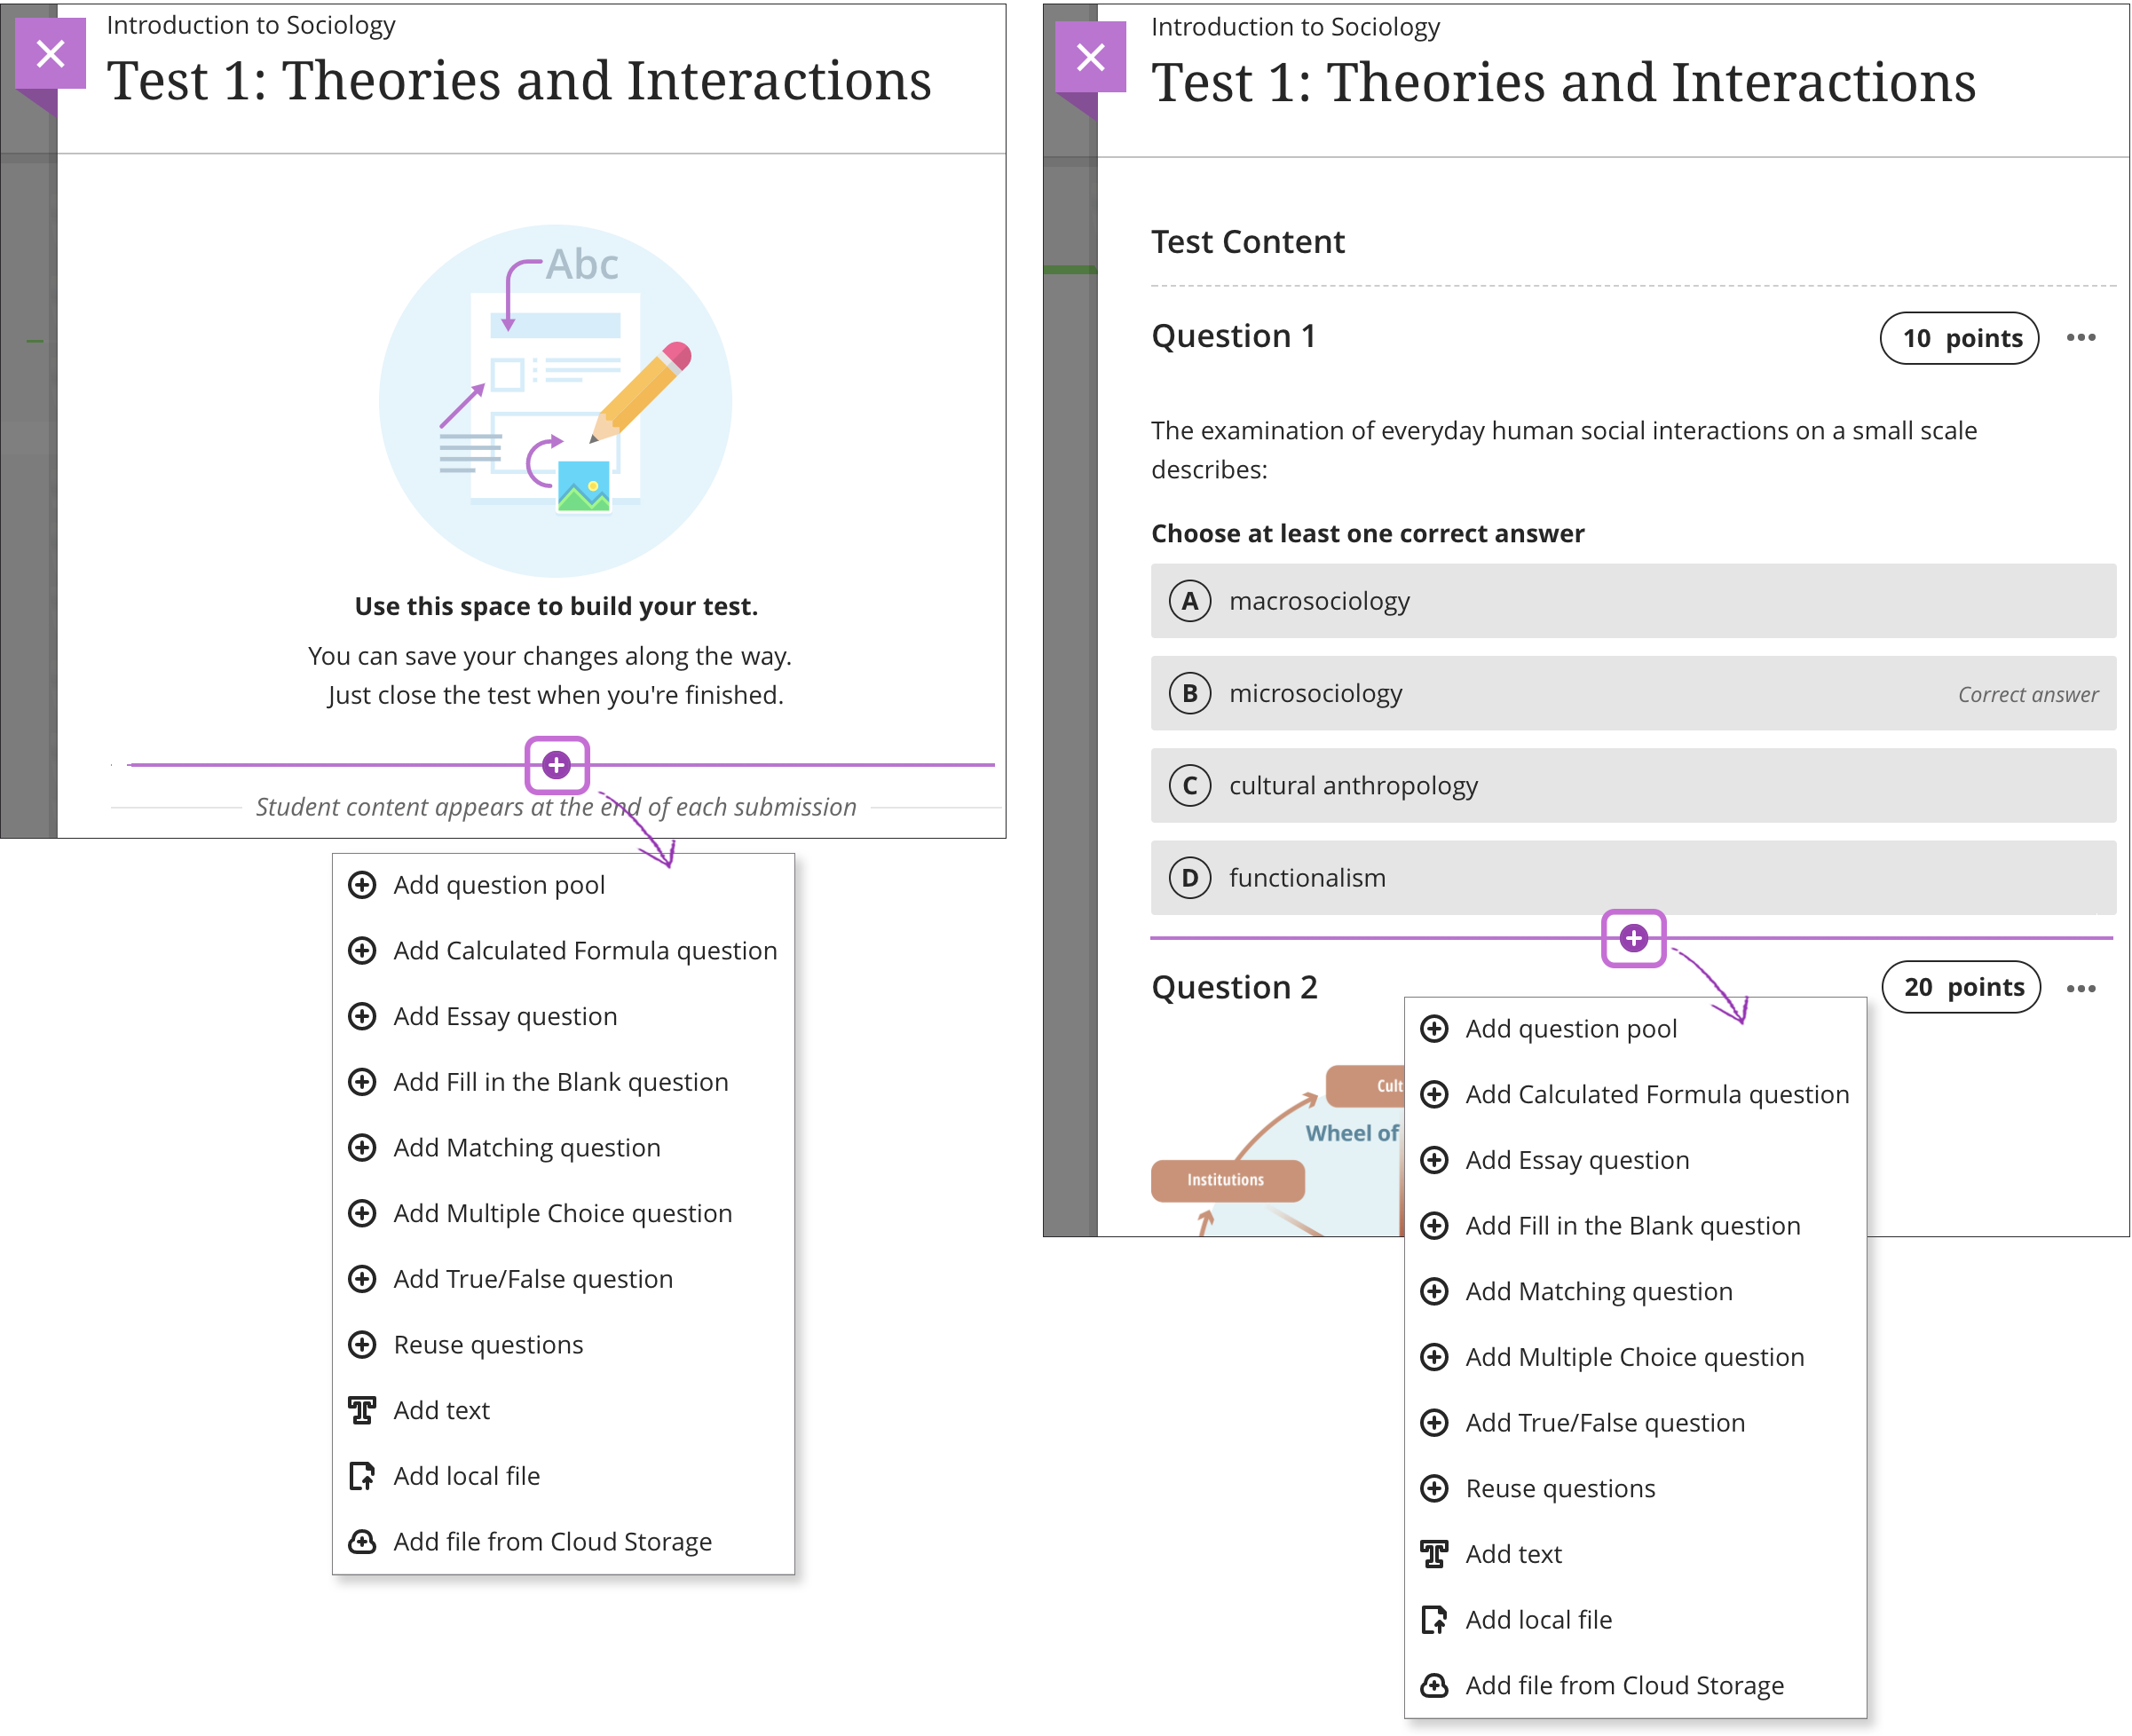
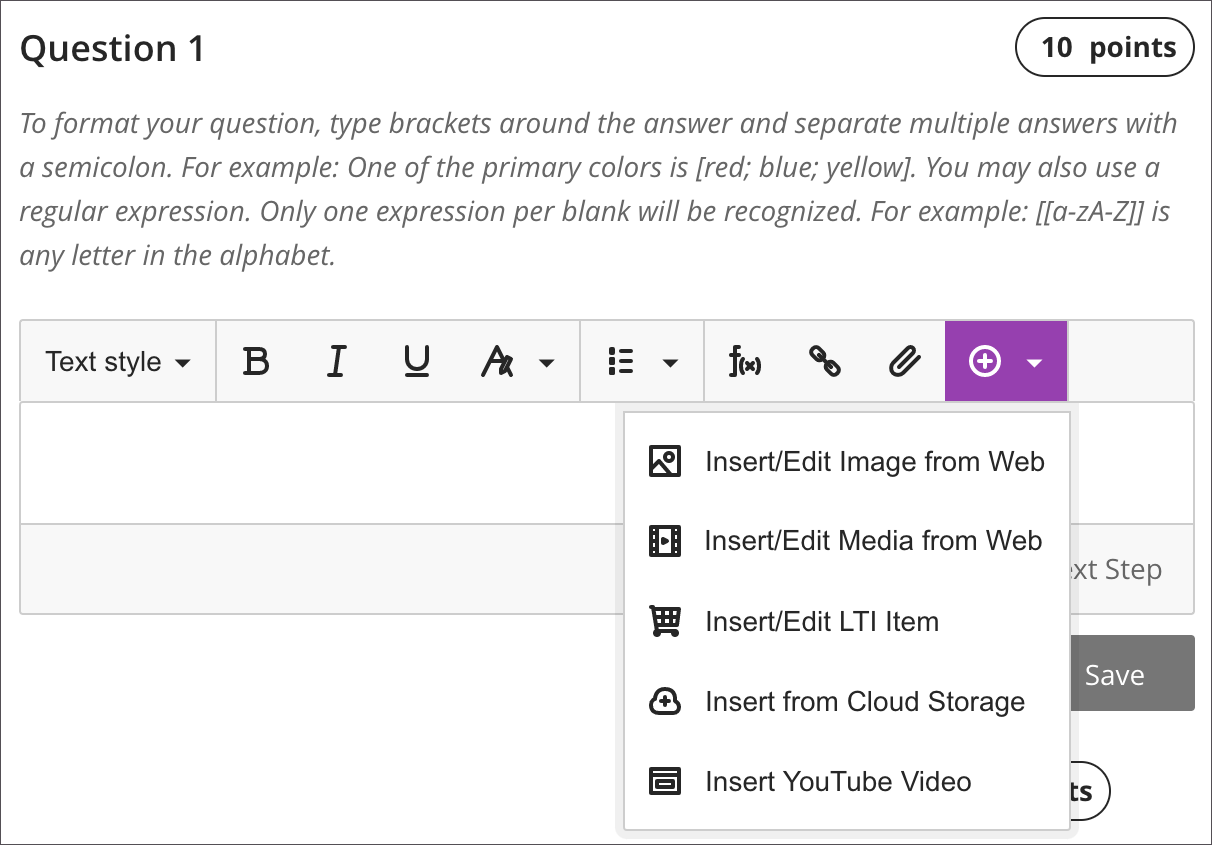
When you create a new test, select the purple plus sign to open the menu. In an existing test, select the purple plus sign wherever you want to add a question. Select Add Fill in the Blank question.
You'll use the same process when you create questions in tests and assignments.
Type your question and add brackets around the answer. You can use the options in the content editor to format the text and add formulas, files, images, and links.
Separate multiple correct answers with a semicolon.
Example: One of the primary colors is [red;blue;yellow].
You may also use a regular expression. Only one expression per blank will be recognized. Note that you add brackets around the regular expression and around the answer.
Example: [[a-zA-Z]] is a letter in the alphabet.
Questions have a default value of 10 points. Select the Points box to type a new value.
Note that Save is disabled because you need to make settings in the next step. Select Next Step to continue.

In the Response Type menu, choose how the answer is evaluated against a student's answer:
- Exact match
- Contain match
- Match a pattern
Select the Case Sensitive check box if you want to take capitalization into account.
Select Previous Step if you need to make edits. Select Save when you're finished.

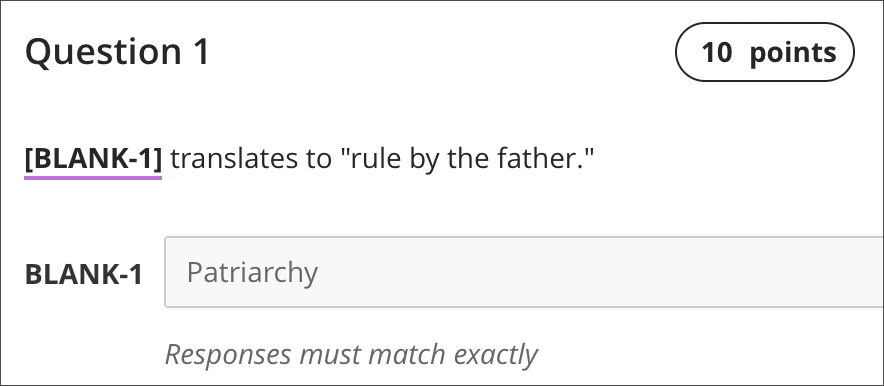
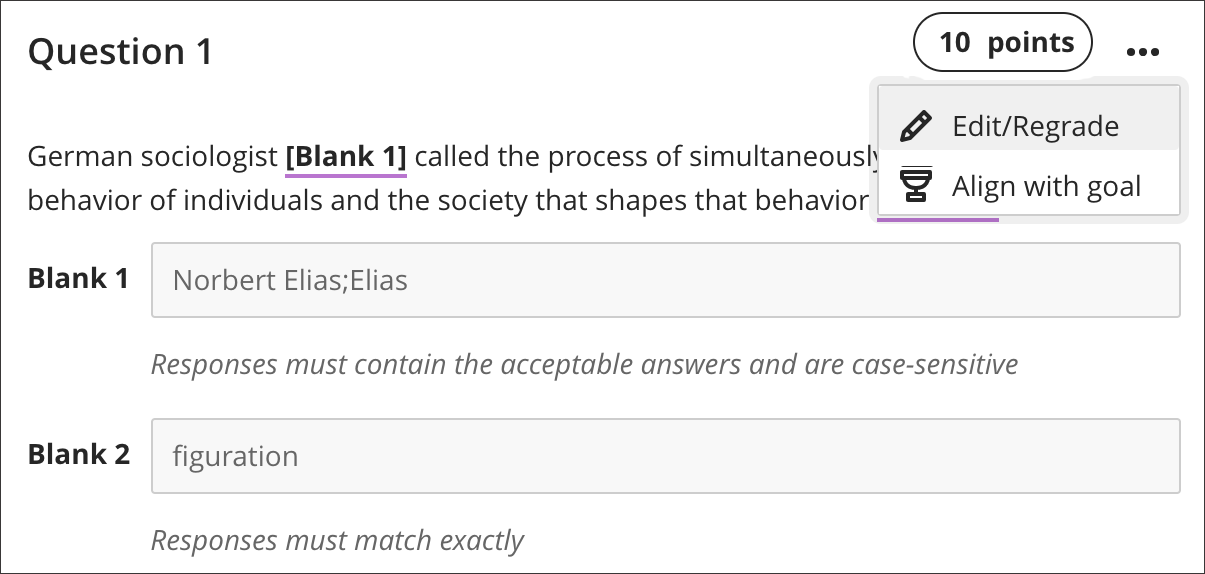
The question displays which response type you chose, such as Responses must match exactly.
About Creating Answers
Keep answers for the blanks simple and brief. To avoid difficulties with auto-grading, you can limit answers to one word. One-word answers prevent issues such as extra spaces or word order causing a correct answer to be scored as incorrect.
- Select Contain Match from the Response Type menu to allow for abbreviations or partial answers. This option counts a student's answer as correct if it includes the word or words you specify. For example, set up a single answer that contains Franklin so that Benjamin Franklin, Franklin, B Franklin, B. Franklin, and Ben Franklin are all counted as correct answers. Then, you don't have to list all the acceptable possibilities for the answer Benjamin Franklin.
- Select Match a Pattern from the Response Type menu and create a regular expression that allows for spelling, spacing, or capitalization variations.
Match a Pattern
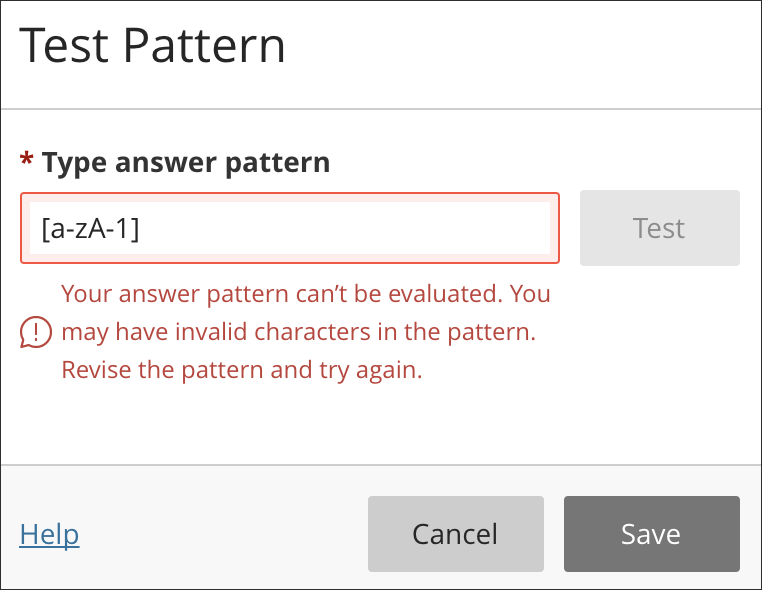
When you choose to Match a Pattern for an answer, you can test the pattern and a new window opens. A check mark appears for a pattern that works. You can also type an expected correct answer and test your pattern.
You'll receive an error message if your pattern can't be evaluated so you can make changes.
Video on Creating a Fill in the Blank Question
The following narrated video provides a visual and auditory representation of some of the information included on this page. For a detailed description of what is portrayed in the video, open the video on YouTube, navigate to More actions, and select Open transcript.
Video: Fill in the Blank questions explains how to create a fill in the blank question type.
Add Files to a Fill in the Blank Question
To help keep your assessment content organized, you can add files within individual questions. Make a selection from the editor's Insert Content menu, such as Insert from Cloud Storage.
You can edit settings for the files you've added to questions. Select the file in the editor and then select the Edit Attachment icon in the row of editor options. You can add a Display Name and Alternative Text. Alternative text describes the image for people who use screen readers or visit web pages with images turned off.
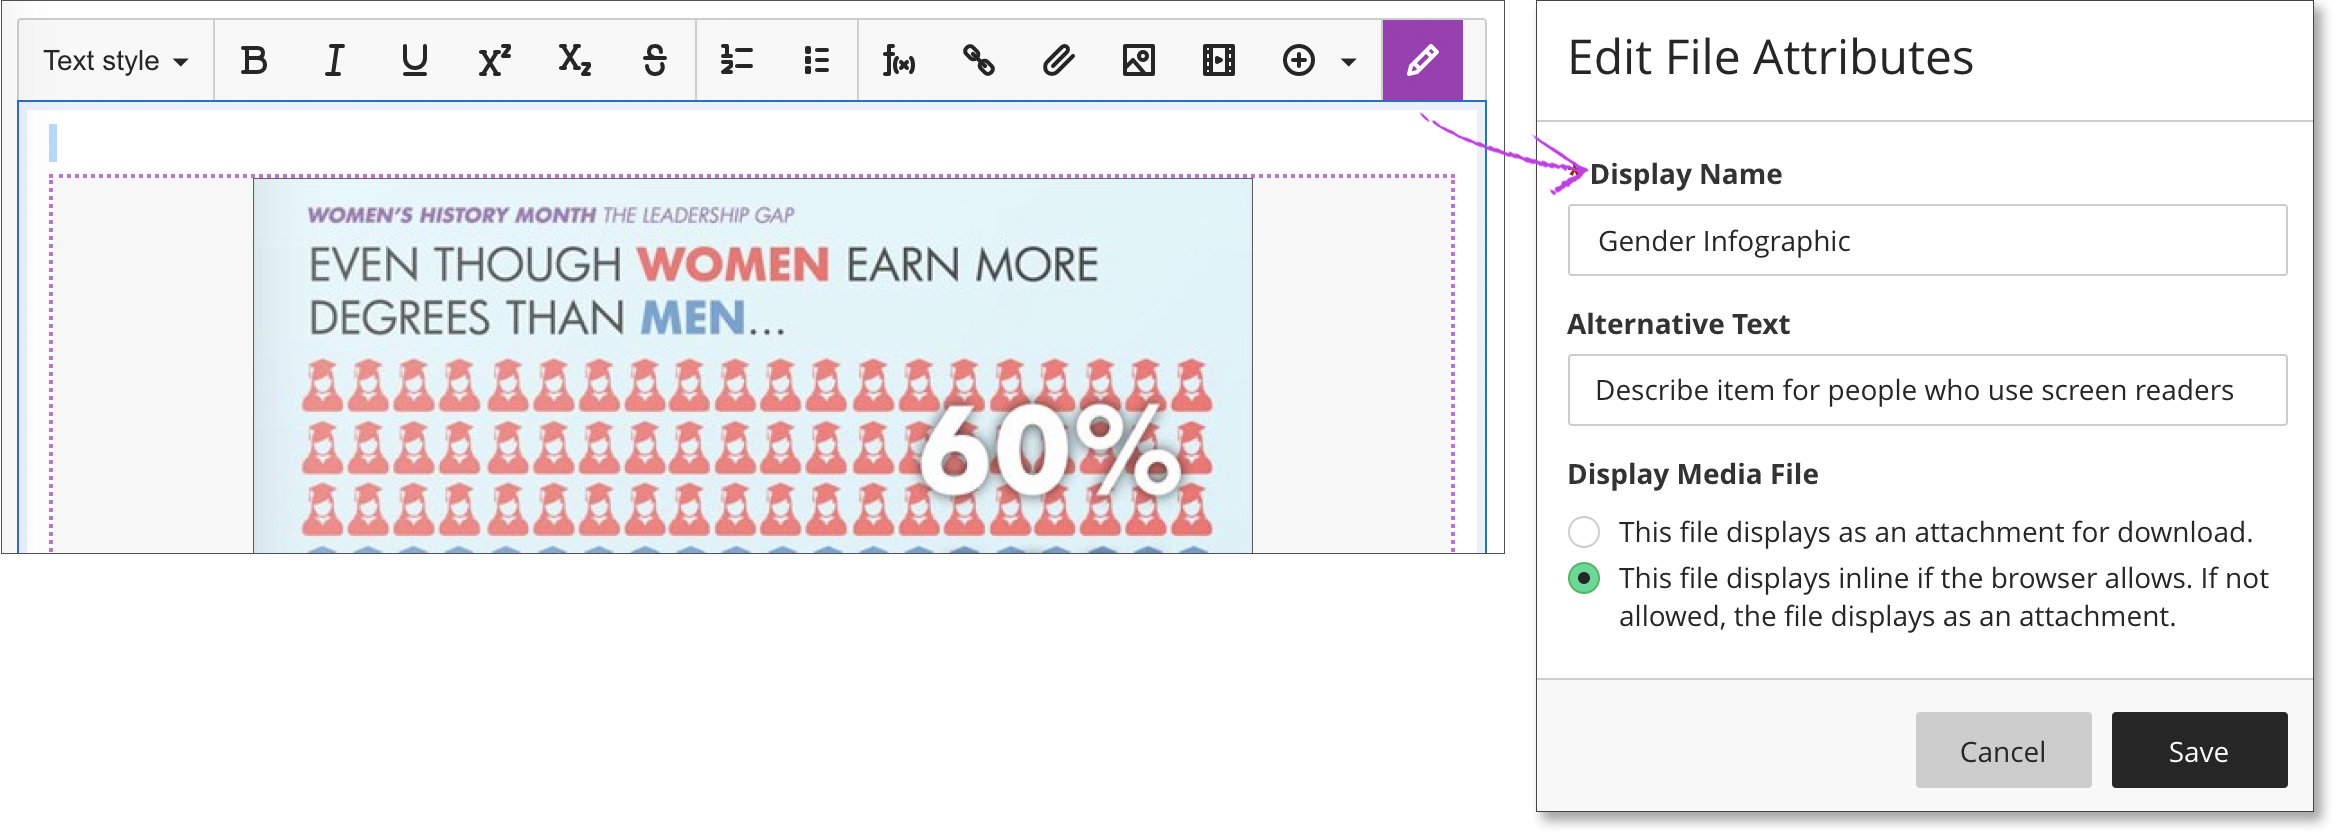
You can also choose whether to insert the file as a link in the editor or to embed the file directly so it appears inline with other content you've added.
Before students open the assessment, access the menu to select Edit or Delete. To change the points, select the score pill and type a new value.
Select Align with goal from the menu to align goals with individual assessment questions to help your institution measure achievement. After you make the assessment available, students can view information for the goals you align with assessments and questions so they know your expectations.

After Submissions Exist
You can edit the text of most questions and answers, even after students have made submissions. For example, you may have chosen the wrong answer, found a typo, or want to adjust points or scoring options. You can make a change for all students to see and automatically update all grades.
After students open the test, you can't add new questions and blanks, delete a question or blank, or move the content.
In a test or a student's submission, open a question's menu and select Edit/Regrade to make changes. You receive a warning after you save your changes if student submissions exist and regrading will occur.
See Grading Fill in the Blank Questions