Grading Schema Overview
In Ultra instructors can add, copy, and edit up to 100 grading schemas per course. Items copied from other courses will keep their grading schemas. When copying, any configured schemas copy even if not aligned to gradable items.
Instructors can now choose the best grading schema for each assessment in a course.
Watch: Managing the Gradebook or this Grade Schema and Performance Thresholds video to learn more
See also
Use Grading Schemas
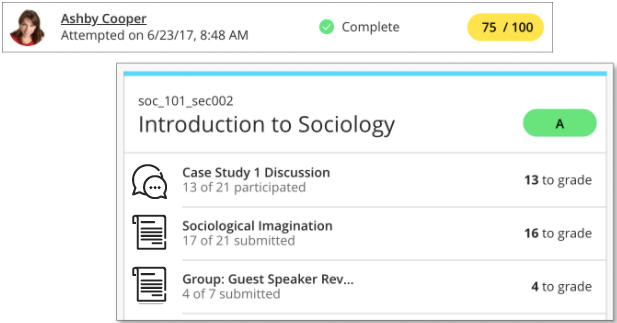
When an item is graded, a numeric score appears as the grade by default. Grades appear in the Grades page, in the Gradebook or Grades tab in each course, with the graded items for students, such as assignments and tests. Go to the Gradebook Settings to make changes to the default grading schema.
The calculation schema displays grades as points, letters (A, B, C), or a percentage with the grading schema you choose for each graded item. The schema takes the points scored on an item and compares it to the item's total points possible to derive a percentage. This percentage is mapped to a range of scores and displays a grade, such as a letter.

Example:
For the total grade, a student's raw numeric score is 88 out of 100 points possible. In a grading schema in which a percentage of 87 to less than 90 equals a B+, the student's score of 88 results in a B+.
At this time, regardless of the range of values you use in your schema, the grade pill colors and corresponding percentages don't change from the Ultra color scheme. Your correct grade appears, but the color matches the Ultra color scheme. However, your institution can disable the color scheme for all courses. Visit the Assign Grades topic to learn more.
Accessing Grade Schemas
From the Gradebook inside a course, you can make changes to the default grading schema. Select the Settings (gear) icon to access the Gradebook Settings panel. Select the Manage Grade Schemas option to see the active schema for the course, such as Letter. The default schema's name and values are defined by the administrator.

If you make changes, the changes only apply to the course you're in.
You can also edit, delete, or add grade ranges. Select a value to edit it. Start from the bottom and edit the values for the last grade value and move to the next row. You can make the uppermost value greater than 100%. For example, if a student earns 100% or more, you can assign A+ to those scores.
To delete a row, point to the row and the delete icon appears. At least two rows must remain for the schema to be valid, and you can't delete the last row. To insert a row, select the plus sign (+) that appears below each row, except before the first row.
Select Save when you're finished. You're unable to leave the panel until you select Save or Cancel. Then, select the X to return to the Gradebook Settings panel.
When you add or delete rows or edit values in the schema, the remaining rows and values adjust when you save. The system ensures that no numeric gaps exist in the schema. The system also displays an error message when you type an invalid number.

More on Grade Columns and Overall grade
Delete Grade Schema
Instructors can also delete grade schemas that are not used in the course. The option to delete helps instructors maintain the grade schema list.
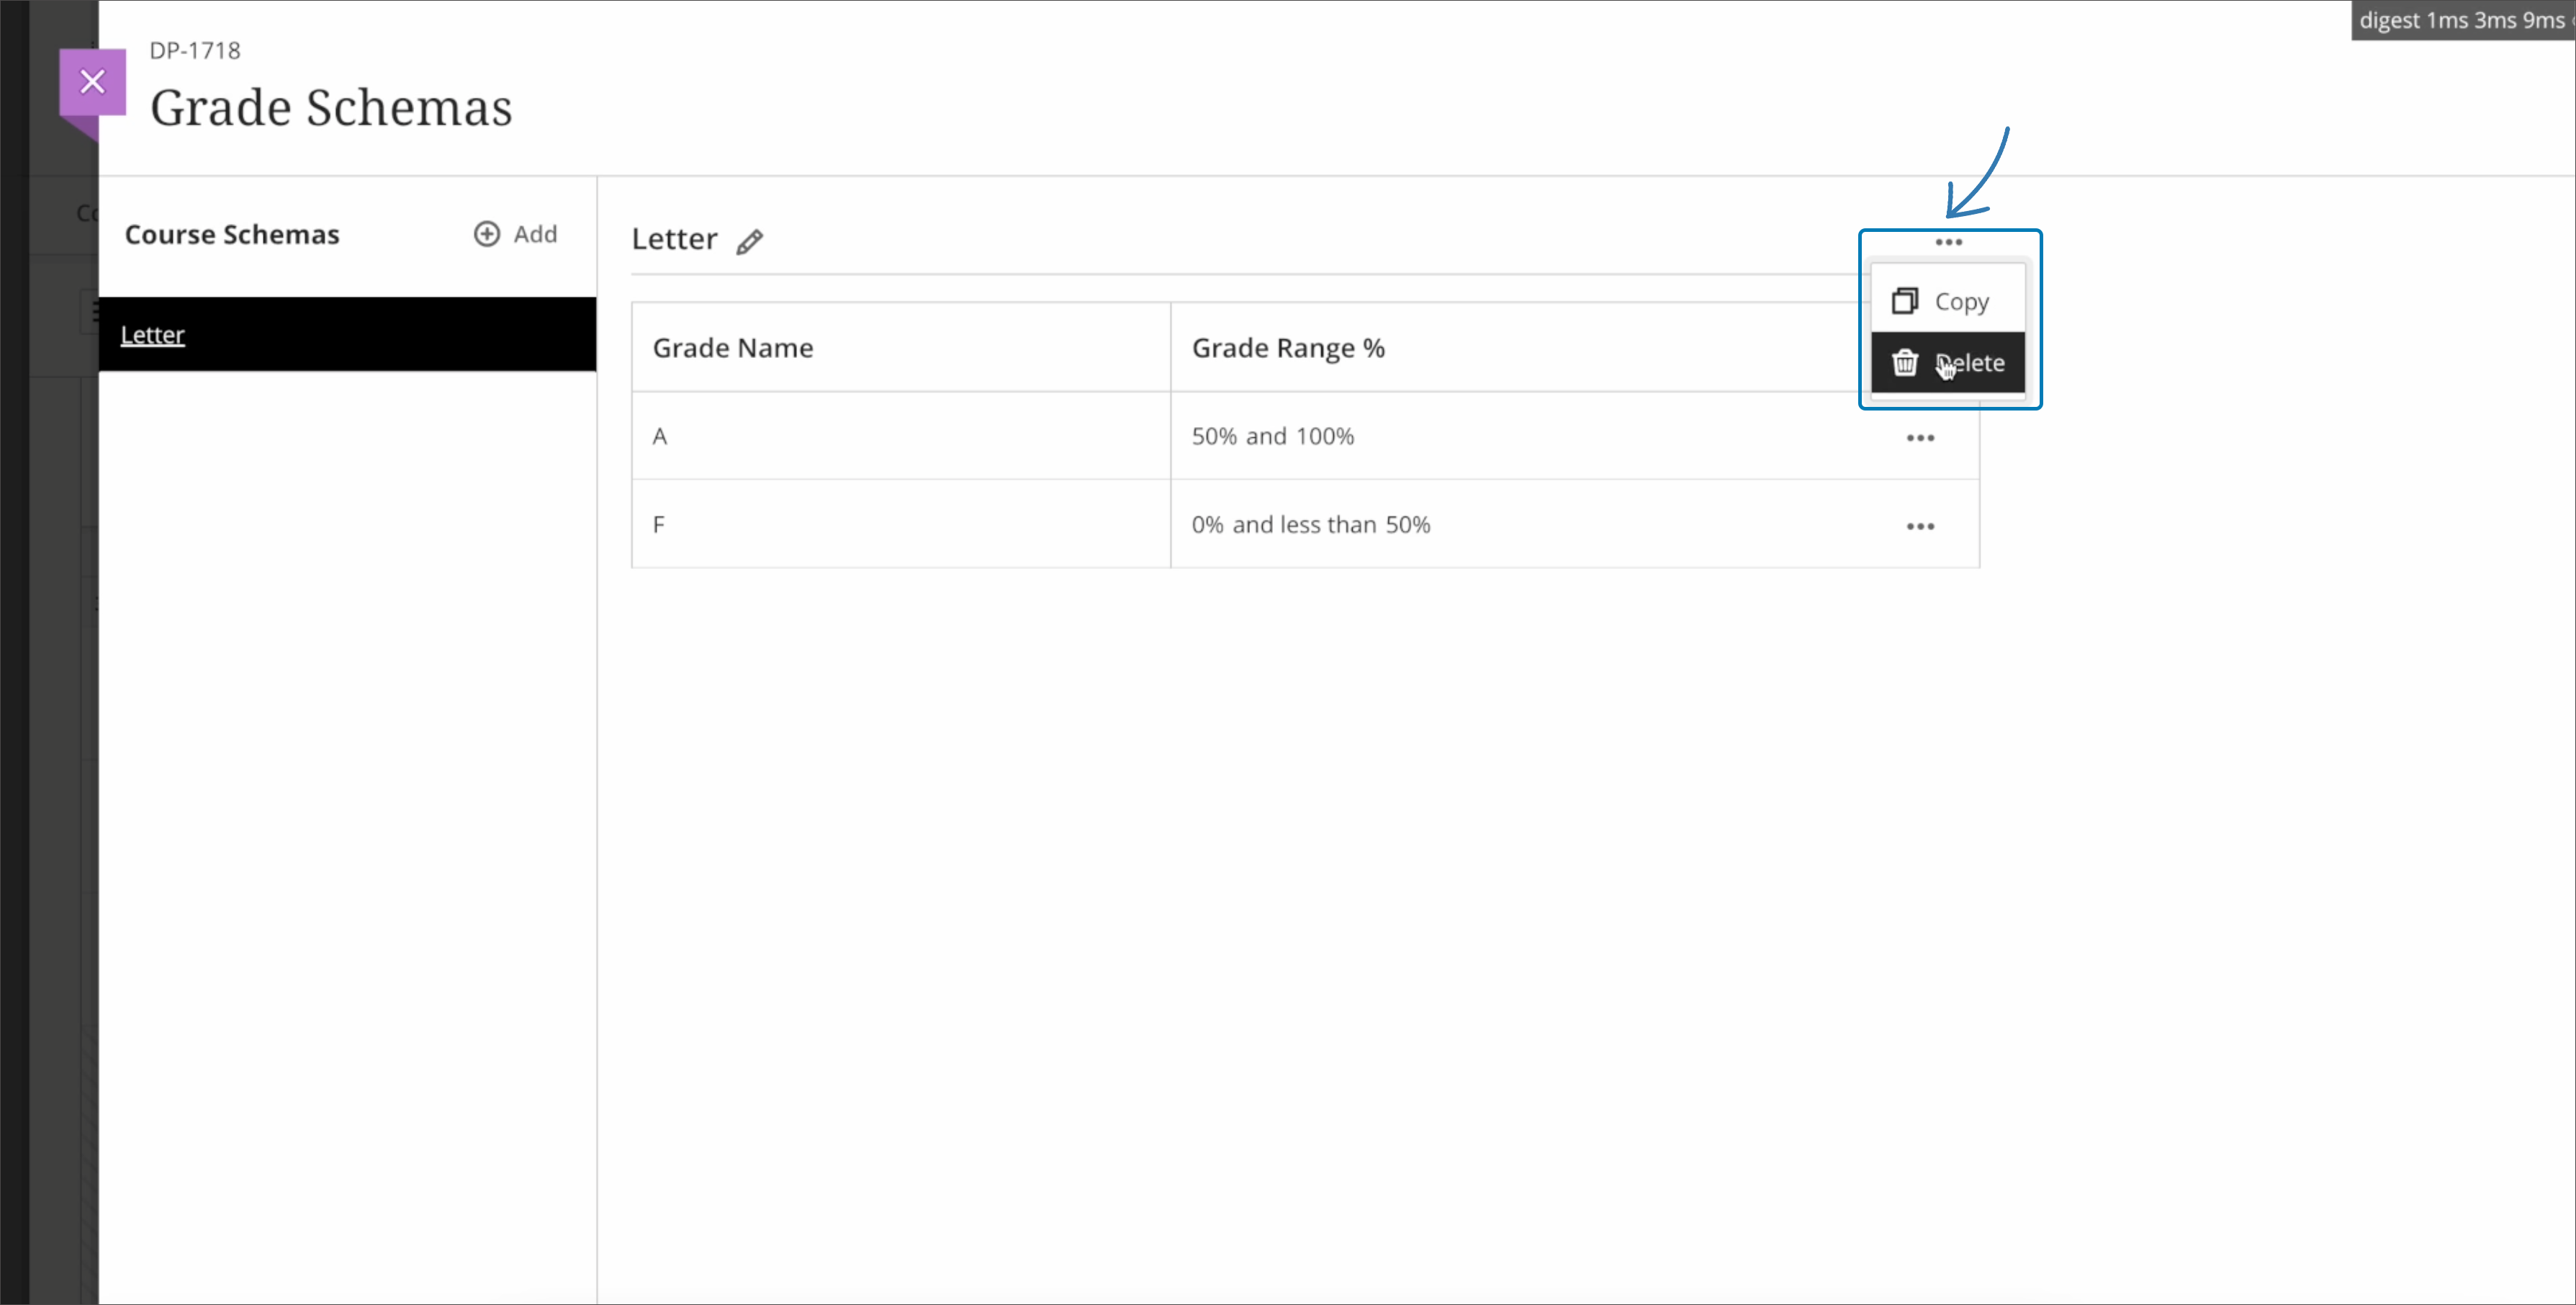
A Delete button appears on schemas that are not in use. Schemas that are in use will only display the option to copy.
Image 1: Option to delete a grade schema that is not in use

Changing Grading Schema on a Graded Activity
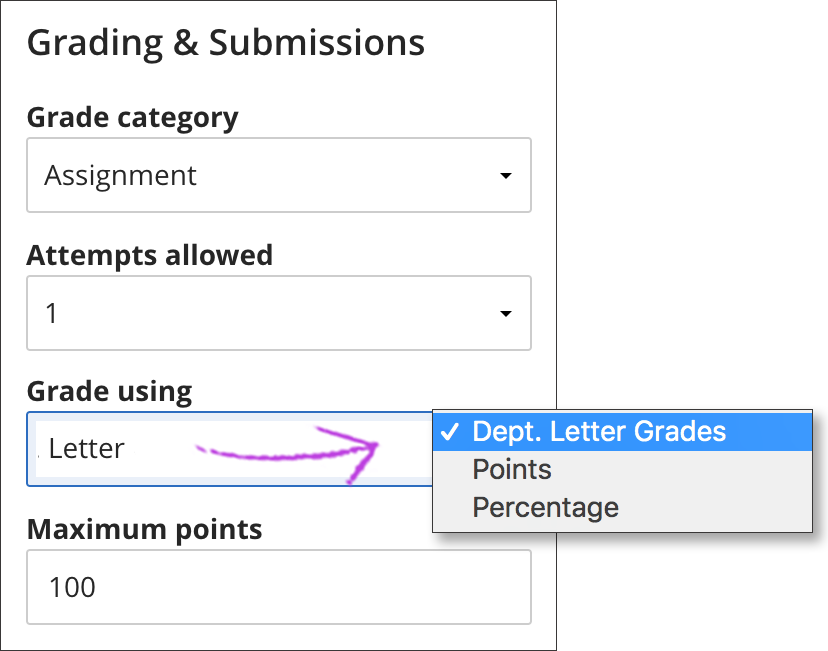
You can rename the schema used on an assessment. The name change only applies to the course you are in. To change, click on the title of the assessment > Assignment Settings gear icon. In the side panel menu, point to the title to access the edit icon. Schema titles have a 64-character limit. The name change appears in the "Grade Using" drop-down menu when you create graded items.
