This guide pertains to Ultra Course View.
If your course is in Original Course View, see the Original Course View tutorial collection.
When to Use?
You can use learning modules in your course as a container for organized collections of content. Modules let students navigate from one content item to the next without distractions or extra clicks. A learning module helps immerse students in the lesson or concept you're teaching. See also Learning Modules & Folders in Ultra - What's the Difference?
Watch this short video (1m 25s) explaining what a module is:
See also:
- Select the purple plus sign where you want to add a learning module, and then select Create. You’ll find Learning Module under the Course Content Items heading.
- Select the newly created learning module to edit the name and add a description.
- Use the purple plus icon to add new content directly or drag and drop existing content into the module.
- You can add folders to a learning module to help organize content. Folders in learning modules can only be one level deep, meaning that each folder can contain only content items, not other folders. Modules cannot be added within a module.
When you are finished adding content, set the module's visibility. To force students to view the learning module's content in sequence, check Forced Sequence in the peek panel. If you force a content sequence, students must access and complete each content item within the module in the order you place it.
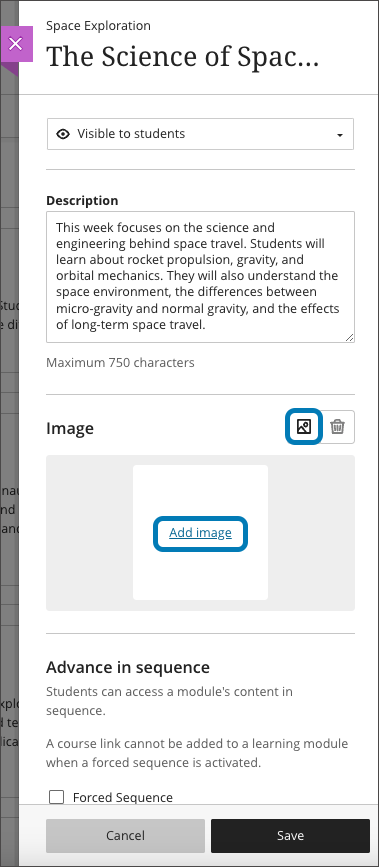
To add an image to a Learning Module, instructors can edit the module by clicking the 3-dot menu to the right of the module, then selecting Edit.

In the side panel that opens, click on Add image or the image button:

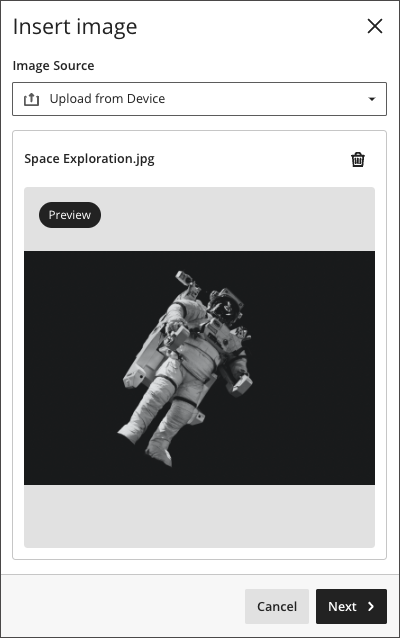
An image can be added through one of three ways:
- Upload from Device: Adding an image stored on your device.
- Stock Image from Unsplash: Searching an image in the Unsplash image repository (a collection of royalty-free images)
- AI-Generated Images: Use an AI-generated image based on keywords entered.

Regardless of the source of the image, once selected, the image then appears in preview:

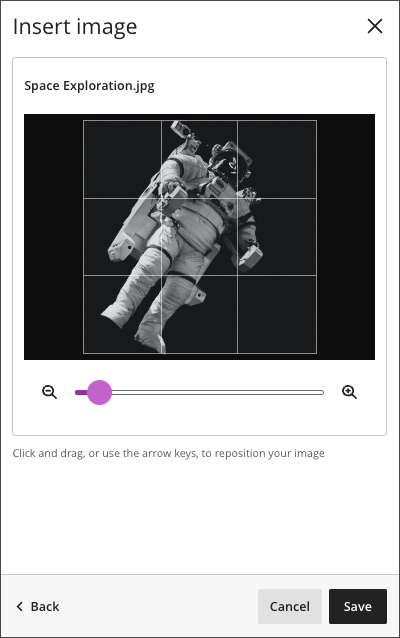
The image can be dragged and the zoom modified to select the focal point of the image:

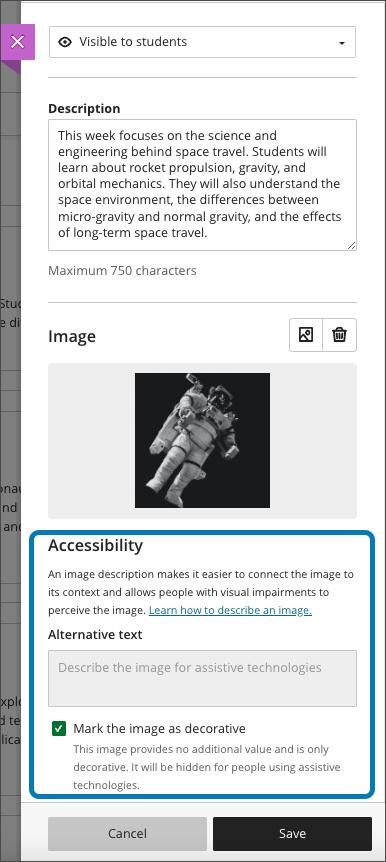
To ensure accessibility, mark the image as decorative or provide appropriate alternative text. By default, images are marked as decorative. Click Save when done.

The image now appears on the Course Content page with the Learning Module:

When a module is visible, students can also view all visible content within the module, including due dates. Students can open and access the content in any order.
If you force a content sequence, a message appears should a student try to access the content out of order. Students are told that they need to open and complete the content in order, along with other conditions you set.

After students open a content item, they can navigate through the module with the arrows at the top of the browser window. When students are required to access the content in order, a lock appears next to the arrow.
Students can exit the module before completion. When students return, icons appear next to the module content if the sequence is enforced. The icons show which content is complete, in process, or not started, so students can pick up where they left off.
A green circle with a check mark means that content is complete. A partially filled green circle means the content is in process. A lock icon means the content hasn't been started.
