This guide pertains to Ultra Course View.
If your course is in Original Course View, see the Original Course View tutorial collection.
Note: This process will allow a file to be uploaded to a Blackboard shell but you can import compressed files only. Supported file types are ZIP and IMSCC.
Import Content
On the Course Content page, open the menu on the right side above the content list. Select Import Content > Import Course Content, then choose the source/location where the desired file is housed to upload into the course.
- Import Course Content: upload a file from your computer.
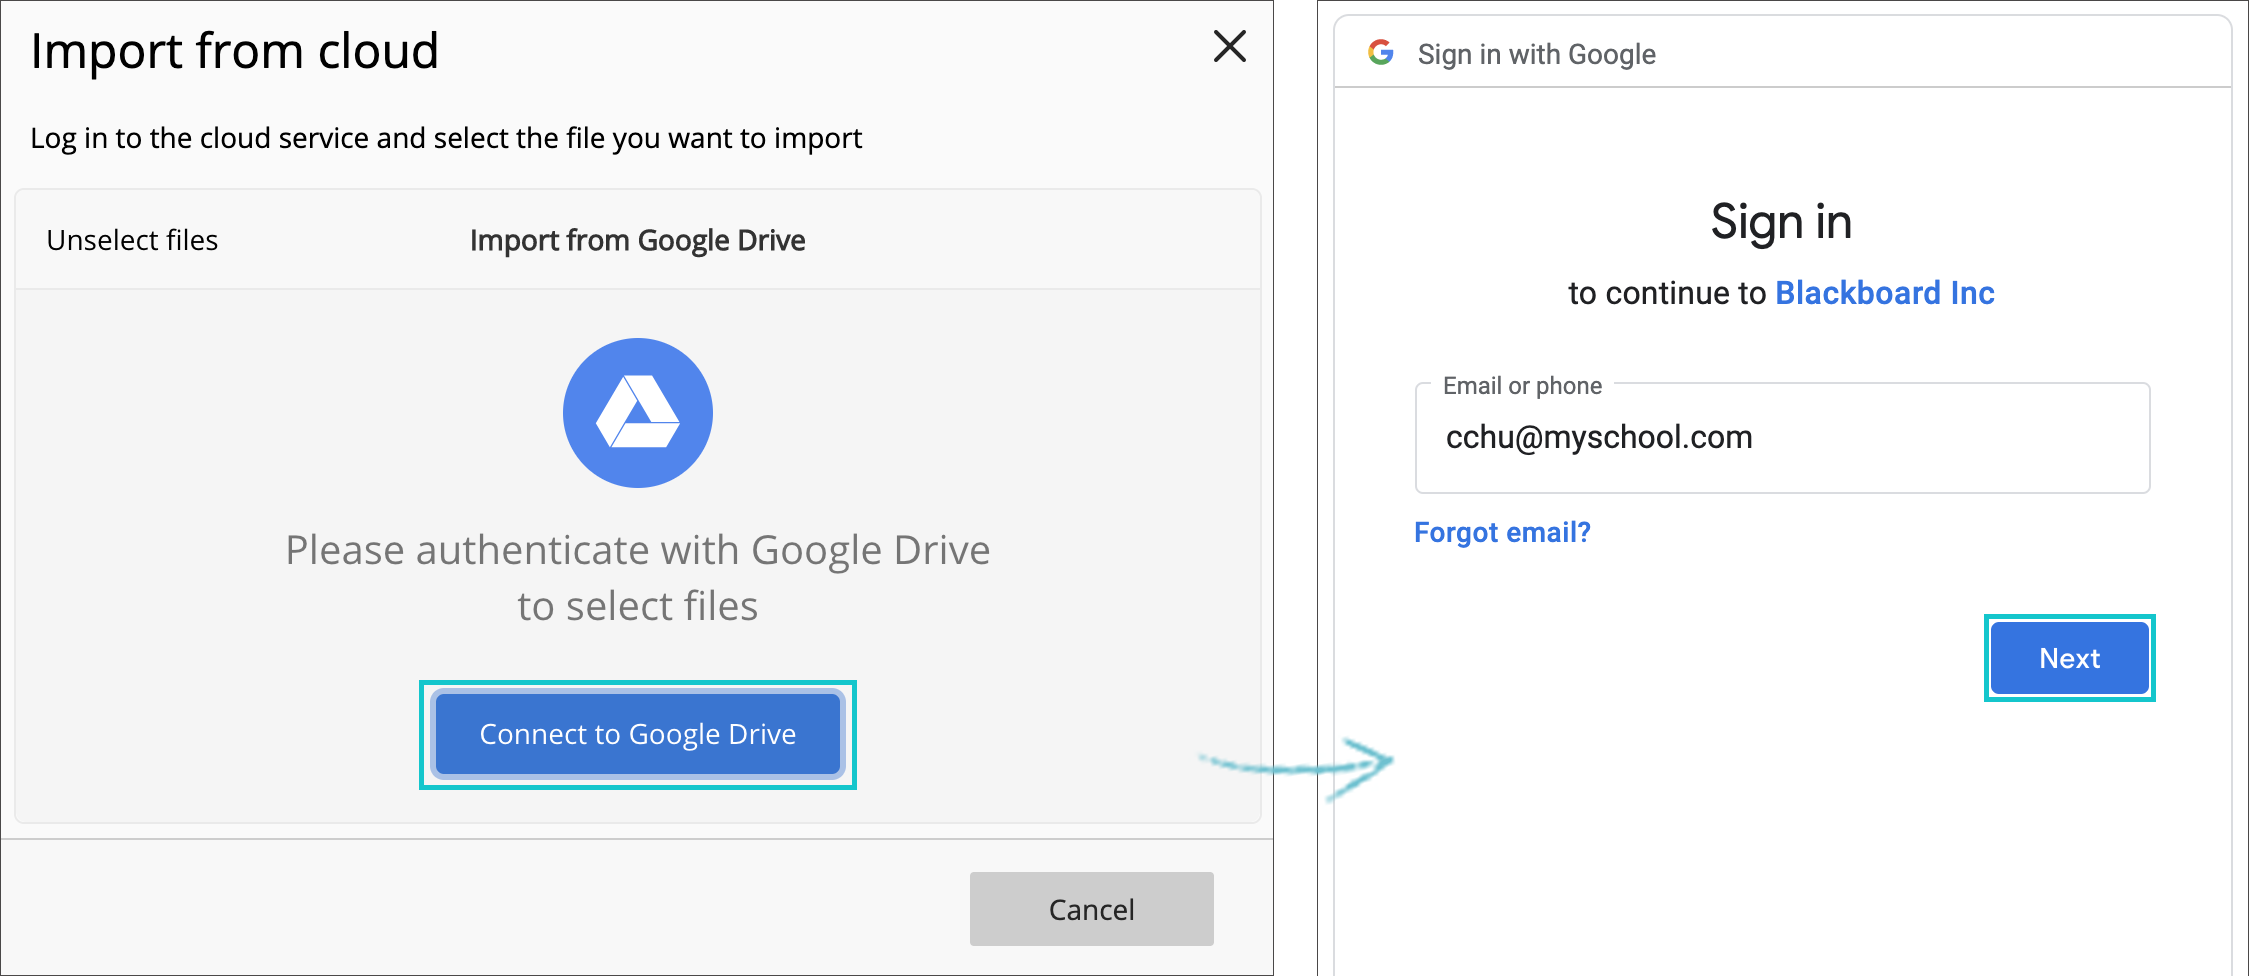
- Cloud Storage: upload a file from Google Drive, OneDrive, Dropbox or Box.
- Content Market: upload a file provided through a third-party vendor.
- Content Collection: upload a file housed in the course files area or one that is housed in another course you teach that you wish to bring into the current course.
Once the file is located, a status indicator displays to show the file is loading into the course.

As the content imports, a message appears in the content list.
Once loaded, the new content appears at the end of the content list on the Course Content page. The import doesn't include student enrollments or data, such as discussion activity and grades.
You can upload files to web apps that run in the "cloud" and aren't installed on your computer, such as OneDrive®. Your files are stored on secure, online servers where they're protected from accidents and viruses. If something happens to your computer or phone, you don't have to worry about file loss. You can access your files in the cloud any time you're connected to the internet, on any of your devices.
In your course, you can instantly connect to multiple web apps where you store files. Blackboard Learn uses a cloud integration service for easy access to many web apps in one location.
Access Cloud Storage the First Time
When you access cloud storage for the first time, you choose the web app you want to connect to:
- OneDrive
- Box
- OneDrive for Business
If you have an institution OneDrive account, use OneDrive for Business.

Next, sign in and allow the cloud integration service to connect to your web app.
You can use your institutional account as well as personal accounts to login to the service and upload files.
In the cloud storage pop-up window, you see your files for the selected web app. You can:
- Unselect files, Cancel or select the upper right X button to cancel and go back to the list of services available.
- Select a file from the folders available.
- Log out.
When you choose a file from the list by selecting the checkbox in front of it, the Select button appears. The number on the button corresponds to the number of files selected. Select that button to confirm your choice.
The file you chose will be previewed, and you can either select Import to confirm your choice and to add the file to your content item, or the button Cancel to go back to the folder file. You can cancel your choice by selecting the file's upper right X icon.
After you import the file, it will appear as part of the content item you are creating or editing, and you can proceed with your creation process.
