This guide pertains to Ultra Course View.
If your course is in Original Course View, see the Original Course View tutorial collection.
Overview
A custom group is one where the instructor determines, or customizes, which group a student belongs in. A single custom group or as many groups as wanted can be created, with any number of students in each group. To create a custom group, see the Group Creation tutorial.
Assigning Students to a Custom Group
From the group, click on the 3 dots next to a student's name. Either a new group can be created to add the student into or already-created groups appear in the menu as an option to add the student to.
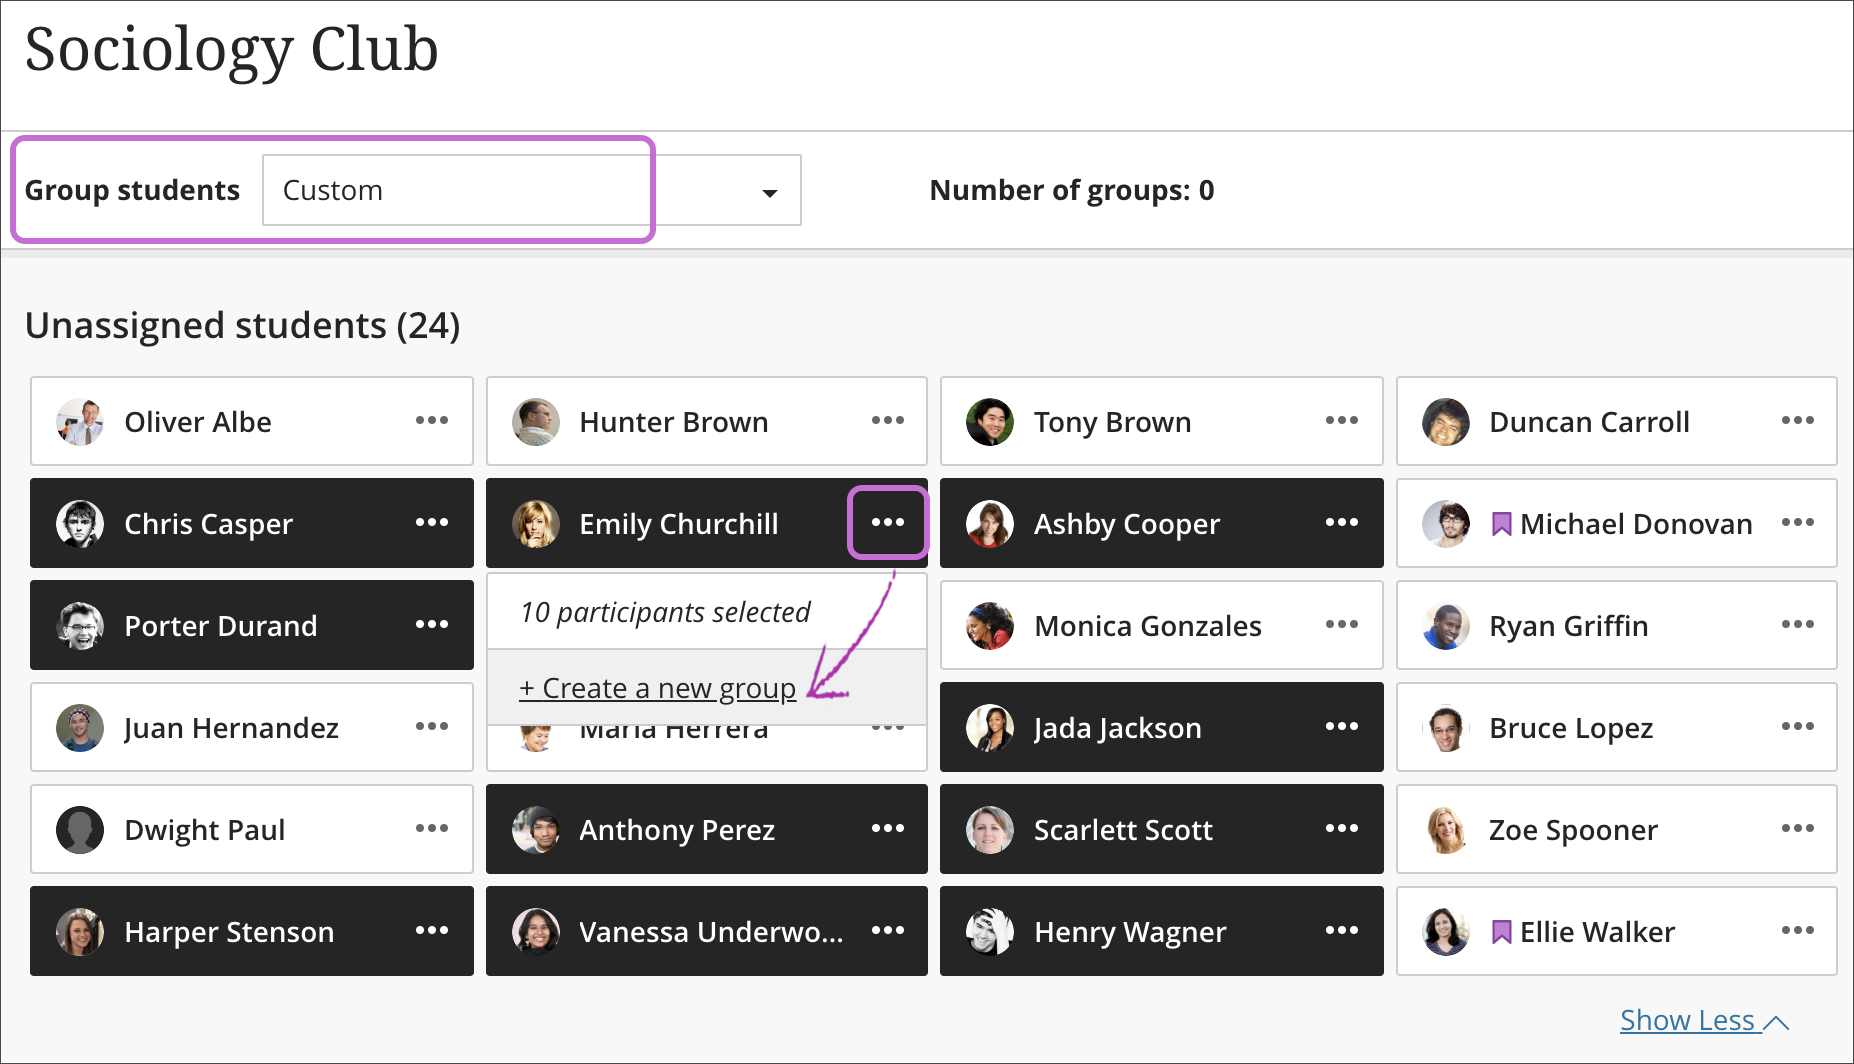

- In the Group students menu, select Custom and provide a name at the top of the page.
- Select each student's name one after the other to select them as a group. Select a student's name again to remove the selection.
- After you select the students, open the menu next to one of their names and select Create a new group. You can also move multiple students to a group listed in the menu.
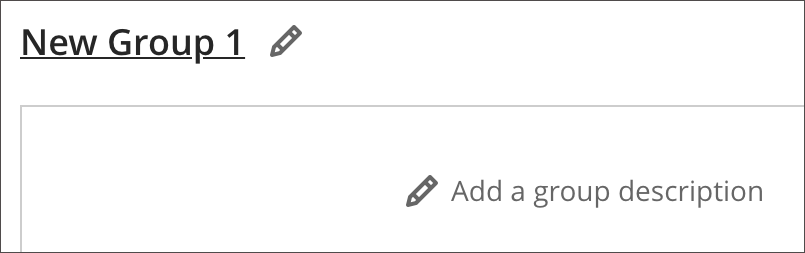
- Edit the group name if you want to change the default naming.
- Optionally, provide a group description that also appears to members of that group. You have no limit on the number of characters.
- Select the purple plus sign wherever you want to add another group. You can also repeat steps 2-5.
At this time, if you save a Custom group set, return to the group set, and select Custom again, already-created groups are deleted.