This guide pertains to Ultra Course View.
If your course is in Original Course View, see the Original Course View tutorial collection.
Course Image Overview
Course images are a great way to personalize your course and add a sense of identity while also establishing a connection between the content and the course participants. A single image can personalize the course in two ways:
- Course Banner: The image appears on the Content Tab beneath the upper tab navigation.
- Course Image: The image displays on the Bb homepage as the image on the course card when courses are viewed in Grid View. When a specific image is not added to the course, the default is to display a nature image as the course card.
Image Requirements
Blackboard requires an image added to the course must be at least 1200 x 240 pixels with a maximum size of 10,24) MB in JPEG or PNG format. Note that images with text in them do not scale well.
Adding a Banner or Course Card Image
To add a banner or course card image to your course, go to Details and Actions in the lower left side of the course, then Course Image > Edit Display Settings:

To add a course image, click on Edit Display Settings under Course Image in the Details & Actions menu. When the side panel opens, click on the picture icon in the upper right corner:

Next, choose whether to upload a file from your device, drag and drop an image into the file area, or select a royalty-free stock image from the Unsplash Image Repository. NOTE: If an image is selected from your device or dragged into the files area, it must meet size requirements for it to display properly as the course banner or course card image.
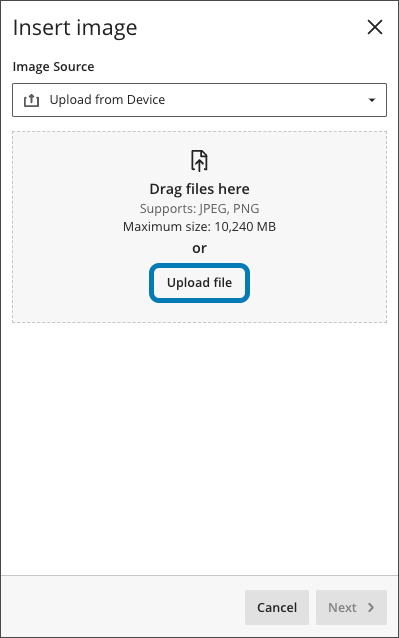
Adding Image From Your Device
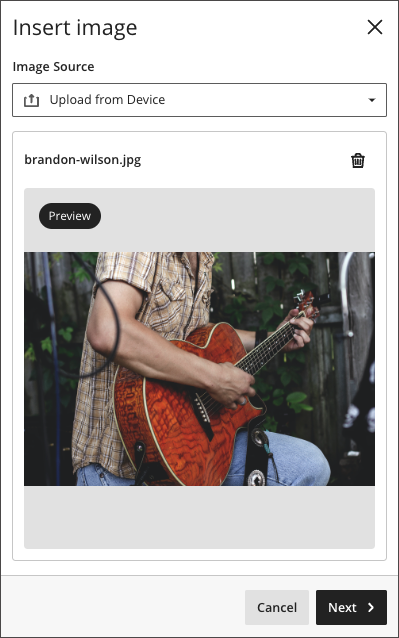
Select either an image saved to your computer or drag and drop the file on your device to the files area:
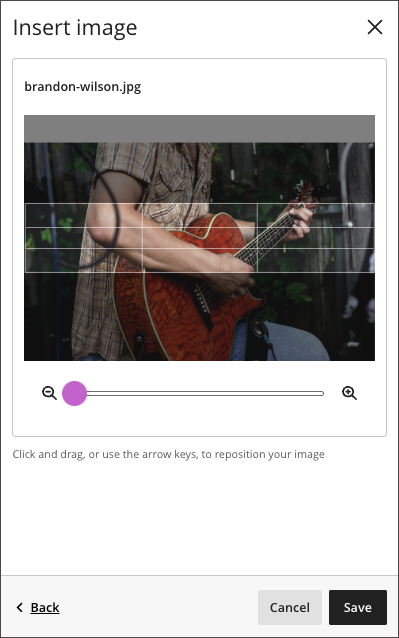
Instructors can drag the image and modify the zoom to select the image's focal point. Click Save when done.
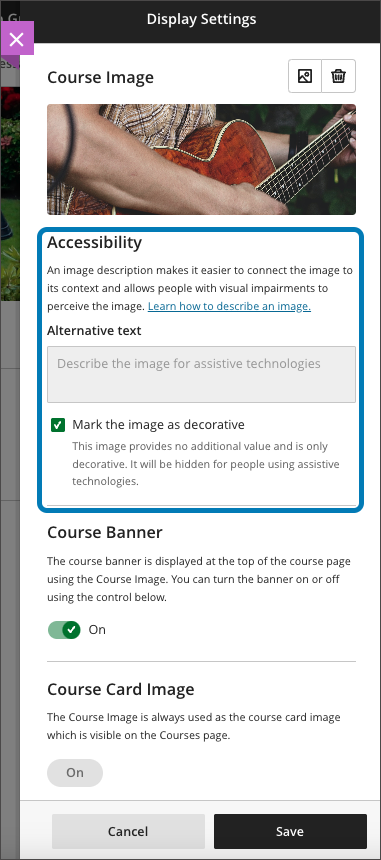
To ensure accessibility, the instructor can mark the image as decorative or provide appropriate alternative text. By default, the image is marked as decorative. If it is desired to also have this image display on the Bb Homepage when in Grid View, toggle on Course Card Image. Click Save when done.
Adding a Royalty-Free Image
An image can be added through Unsplash, a royalty-free repository of thousands of images, by selecting Stock Images from Unsplash as the Image Source, then enter in a search word to locate images. Click on the image desired, then Next.

The image appears in the viewing pane where it can be moved and positioned where desired. Click Save when final.

To ensure accessibility, the instructor can mark the image as decorative or provide appropriate alternative text. By default, the image is marked as decorative. If it is desired to also have this image display on the Bb Homepage when in Grid View, toggle on Course Card Image. Click Save when done.
The image now appears as the Banner in the course:

And on the Course Card on the Bb homepage:
